How To Customize Your Odoo Barcode Labels
Odoo has an Inventory Module which let you to be able to manage your own inventories. Odoo also has a feature that lets you print your own barcode labels.
The barcode label itself has come with the default file configuration, which also customizable if you wish to change it. Before jump into the set up, we need to understand that Odoo has two types of barcode, one is called "simple_barcode" and "simple_label".
simple_barcode is a report template that only prints a master product as picture below
 |
| simple_barcode template |
simple_label is a report template that prints a master product's barcode from a product, along with it's sales price.
 |
| simple_label template |
Both of those template as default-ly shown when you try to print a label from you master product page as picture here below
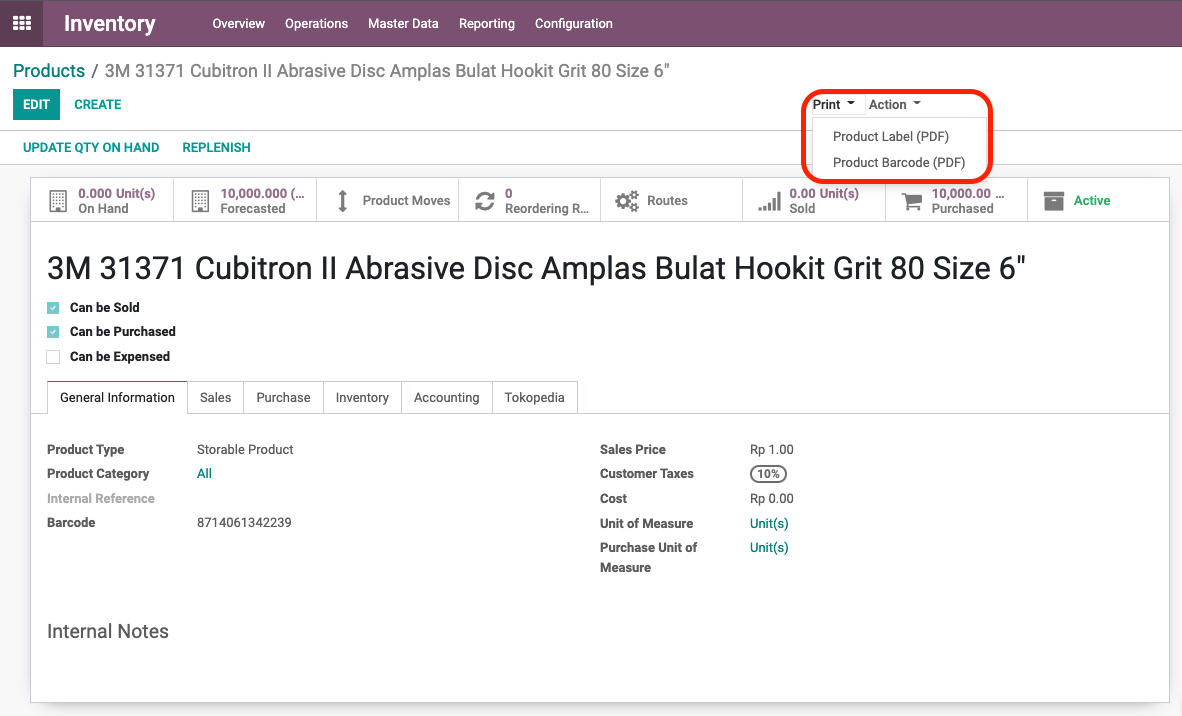 |
| Printing your barcode |
So now, after you understand and selecting which one you wish to use, you can try to modify it. In this case, we will try to modificate simple_barcode ones. However, if you wish to change the simple_label, the steps is also the same.
- First of all, we need to modify the structure of the barcode layout. You can go to settings > technical > views. If you cannot access this menu, you need to activate the debug mode.

View Screen - After that, type in simple_barcode. The report_simple_barcode will show, go click on it. Try to modify the code that shown in architecture tab. But before doing that, make sure to copy the code to a notepad or somewhere as a backup, just in case if something didn't work out. After you done, click save.

report_simple_barcode layout - Next step, in order to make your setup work, you need to configure the paper size of your physical barcode in Odoo. The step number two above is telling us how to configure a view and structure of the barcode, but this paper size (also called report) will define the size of the output after you try to print your label. To configure this, you need to go to settings > technical > report. In the search bar, type in "barcode".
Now, you may see that there are several report that shown. Select the red circle as the picture below show you. The blue circle is the report setup for simple_label.
Barcode Reports - After selecting the report, go click on Paper Format dropdown and click "Create and Edit"

Create new paper size - Later on, try to assign all needed information based on the field as picture below. Since I am using a 5cm x 3cm barcode size, i put 30mm as height and 50mm as the width, since it only accept size in milimeter. Try to fill all field based on your needs, and then click save.

custom paper setup - Make sure that your custom size is set, and then save the report.

Select your custom label and save - Then, go on try to print your barcode label from master product menu.


